Everyone is loving a little extra greenery in their homes these days it seems and I am here. for . it .
I saw this idea on Pinterest and immediately I was like “hey i can make that!” To be honest, I am chronic “pinner” rather than “do-er” and it has been a recent resolution of mine to become more of a maker. Sometimes this seems literally exhausting since my full time job revolves around creating and making things from scratch; but I digress- making things is fun and it gives you such a sense of accomplishment when you look back and go “hey! I made that!” Sometimes you step back and go “well, crap. That didn’t work” 9/10…the latter one fits my bill.
I guarantee this little DIY is going to see you up for success, because it is literally so easy. Here’s what you need:
-A strand of garland or magnolia about 5 feet long I got mine from Joann Fabrics and it was 50% off (those coupons are the bomb!)
-A mirror about 2.5 feet across with a good lip/edge on it. You can you a smaller one but then you’ll want a smaller piece of garland. You’ll want one with a good edge on it so its easy to rest the garland around it. I got mine from Ikea.
-Wire, I used electrical wire which I had laying around the house and just stripped off the plastic outer covering. You can also just use picture hanging wire or floral wire.
-Tape; scotch, painters or masking works great!
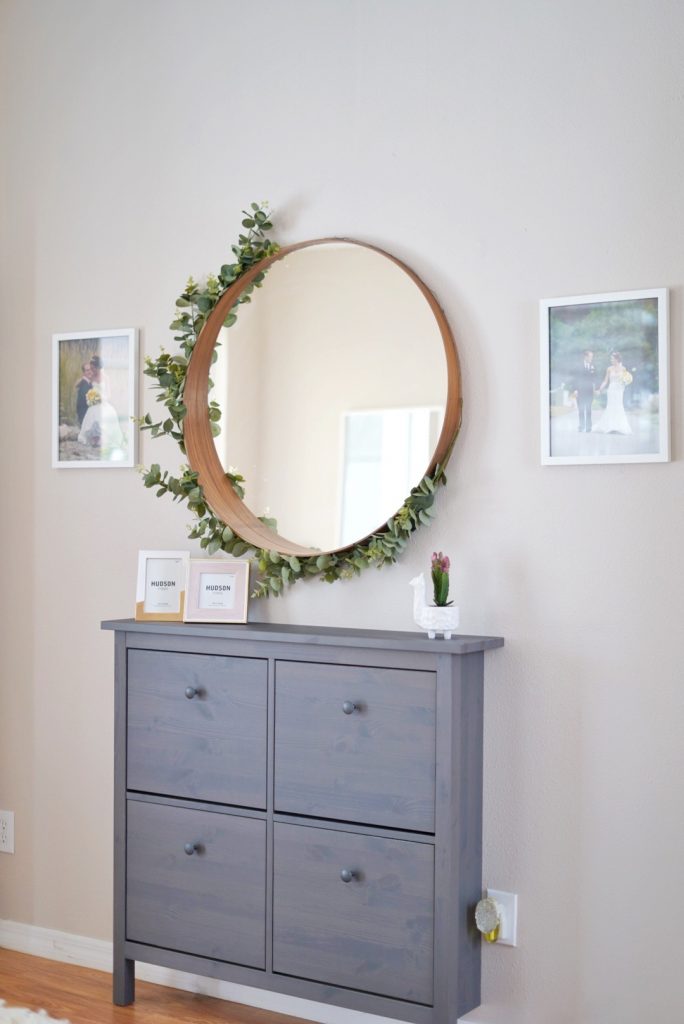
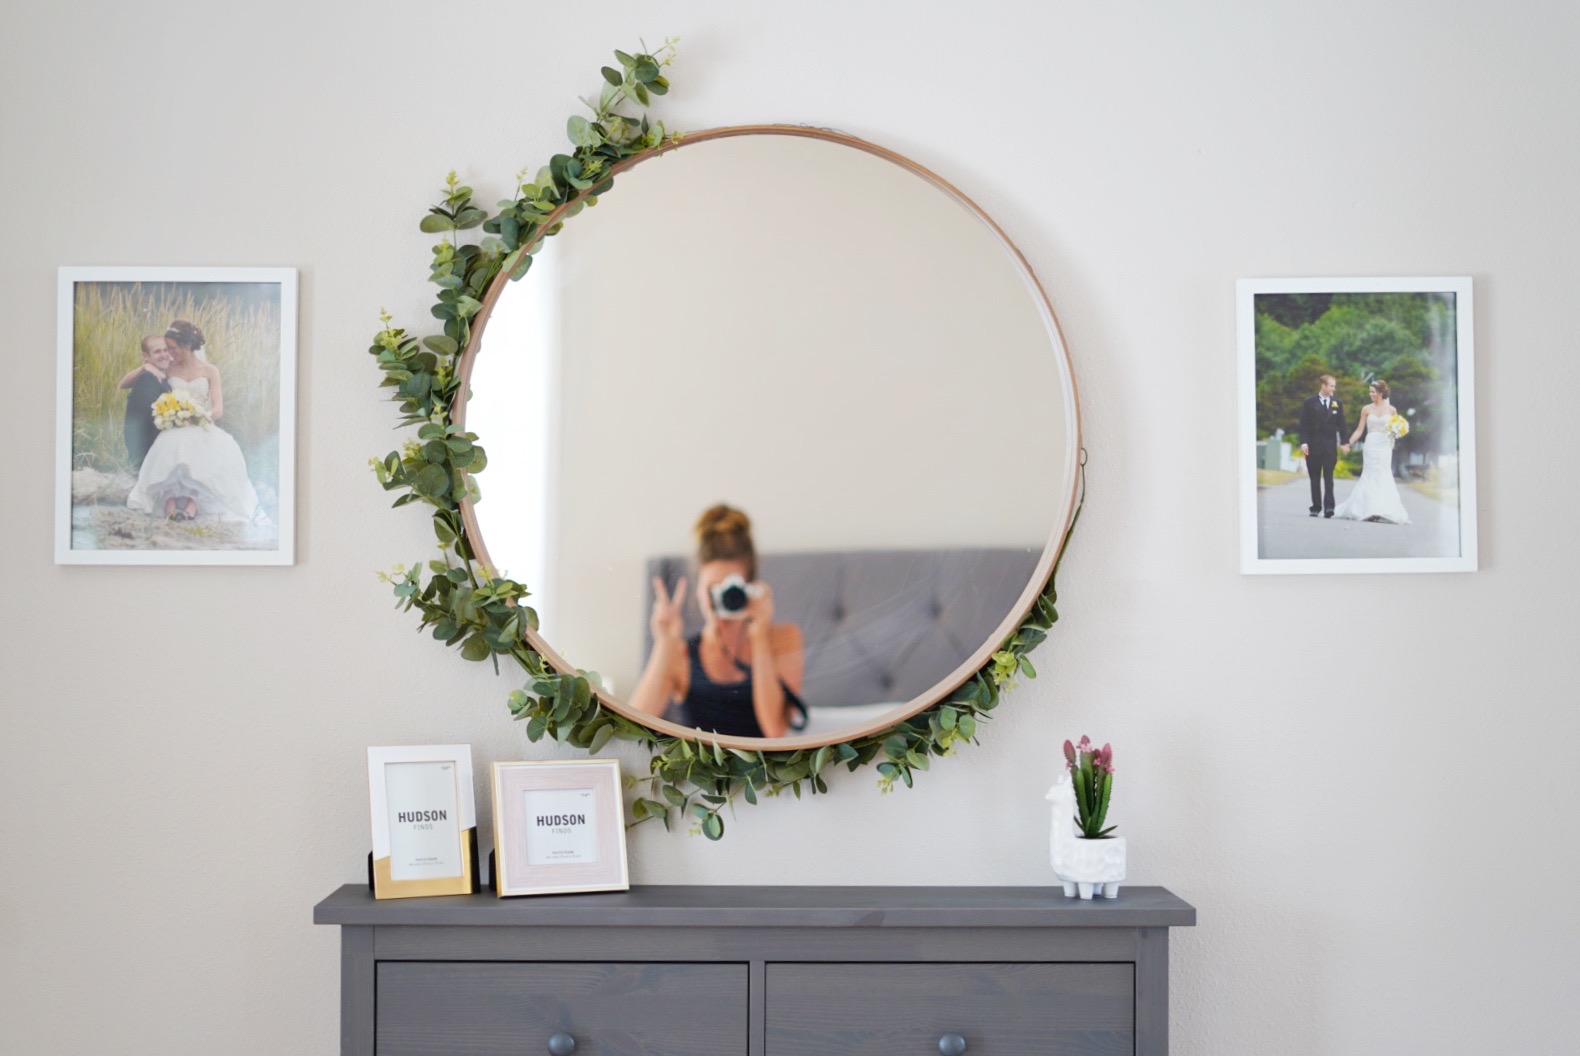
Mirror | Cabinet | Wall Plug | Llama Succulent
Let’s Do This!
First lay your garland on the ground and try to get it as straight as possible, this is to get rid of any weird loops or curves it may have depending on how it was sold or stored.
Once your garland is straight, eyeball what part of the mirror you want to start the garland at. I started mine just over “12 o clock” if you picture the mirror as a clock. I wanted a more asymmetrical look rather than perfectly straight around. It all depends on your sense of design.
You should have loops on the end of your garland, if you don’t; it’s easy to wrap the end of the garland into a twisted open loop at both ends. Once you have your loops, take your wire and place it through the loop and then twist it back onto itself creating a closed loop securing the wire to the garland. You should have two loops interlocking now.
Take your garland and wire and place it around the mirror, you’re now going to measure it how much wire you need to create a snug fit around the mirror. You want it tight enough that you can slip the garland around the mirror but not too loose that it will fall off easily.
Once you have the general idea of how much you need tape the top of your garland and wire to the top ledge of the mirror. This will help hold it in place while you secure it. I learned this trick after a couple failed attempts with the garland falling off and one pricked finger- watch out, wire ends can be hella sharp!
Wrap the garland around the mirror and then take the other end of your wire and loop it through the other end of your garland creating a circle. Pull the wire tight (again be careful, wire can be sharp!) until the garland feels secure. Then, cut your wire and twist it around the loop forming a secure end.
Adjust the position of the garland around the mirror in case it shifted during placement and fluff leaves on your garland.
WHALA! You did it and you have a beautiful, Pinterest worthy statement mirror! Give yourself a self-five; you deserve it!

