Here I am; achieving a goal of being a Pinterester and a Do-er. Have you ever found yourself in that trap? Spending time on Pinterest dreaming and scheming and then never ever making anything you’ve pinned? That was me; until this month. I vowed that I was going to start actually making and creating things in my free time (lol what free time) and then give myself the biggest self five ever for following through with my plan. I have so far rewarded myself with two self fives; one of them being for this ridiculously easy wall hanging!
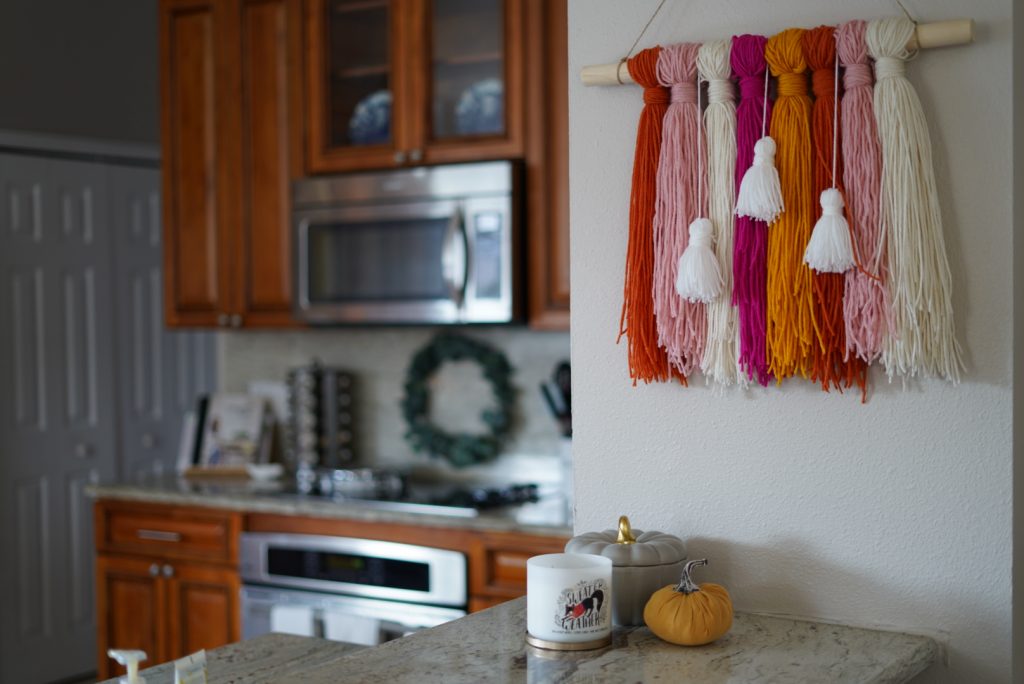
Wall hangings like this one are very boho chic and technically don’t really go with our modern decorating scheme but because of the fall colors I picked, it strangely works?? Not mad about it. Phillip even gave me the go ahead to make another one with more beachy neutrals for our “everyday decor” once the fall season is done. I claim this craft as a win with Phillip’s very picky decorative taste. The man has an uncanny sense of style and taste for decor. I am very lucky my friends.
Quick overview before I go into the step by step procedure of this wall tassel hanging. It is a relatively cheap craft which is always great! You really only need a few items and everything else I guarantee you have laying around your home. That being said, let’s get right into it…or shall I say “YA’LL THREADY FOR THIS?!” Sorry, couldn’t help it. Also, I laughed for a solid 3 minutes over that pun, did you? Please say you did…You did? Ok good. This is why we are friends.
Here’s what you need:
-Wooden Dowel; about 2 feet long and and inch thick (I found mine at JoAnn’s and it was about $2)
-Scissors
-Tape (any type will do)
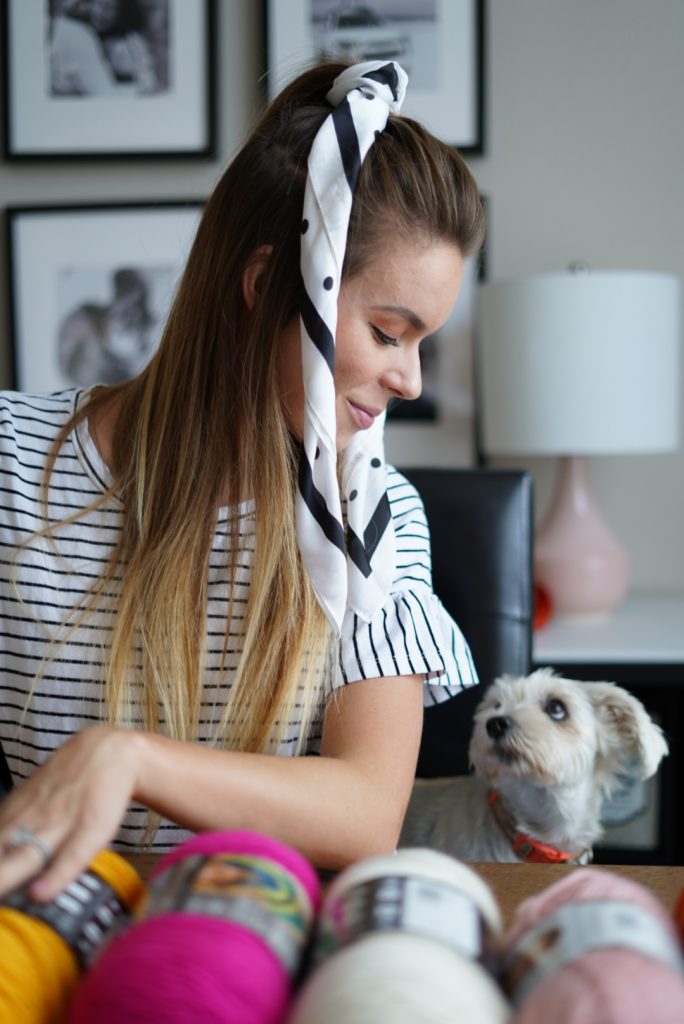
– A Buttload of Yarn : (Fun fact- butt load is an actual measuring term; see the things you learn here?! ) You’ll need about six different colors of yarn. It all really depends on what colors you want and how wide you want your hanging to be. I chose six different colors, five for the main body and one for the small tassels in front. One large roll of yarn for each color is perfect!
-Twine
Let’s roll. (out the yarn)
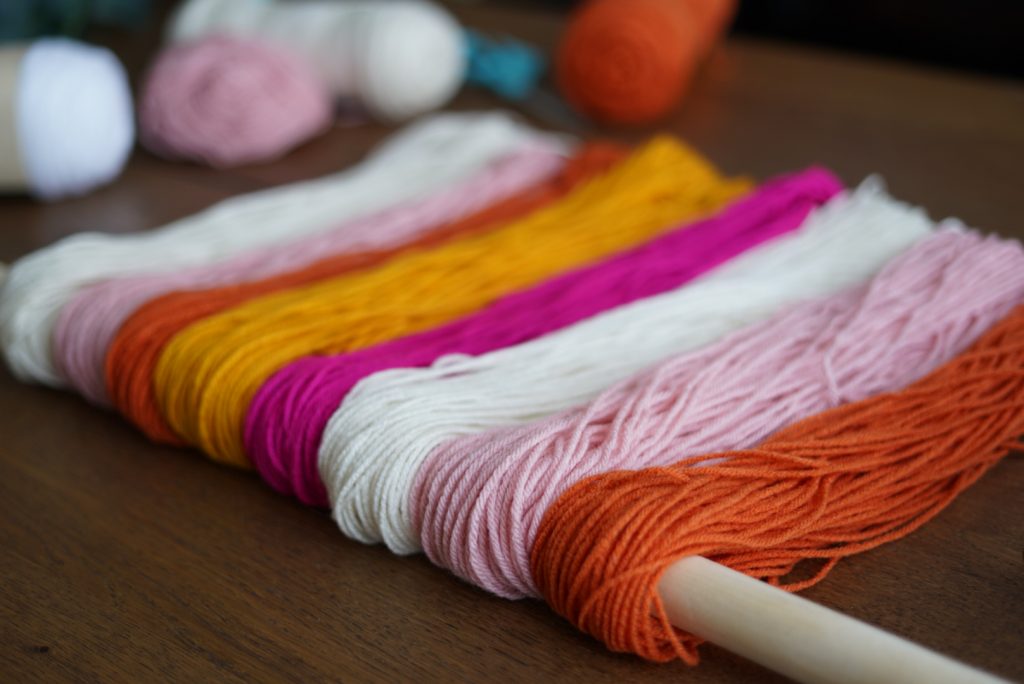
First things first, decide what colors you want to go where on your wall hanging. I decided to repeat a couple colors to make a “fall rainbow effect”. Once you’ve got that figured out you’ll want to decide on how long you want your tassels to hang. I went with about 16″ which happened to be the width of my dining room chairs. Isn’t that just convenient.
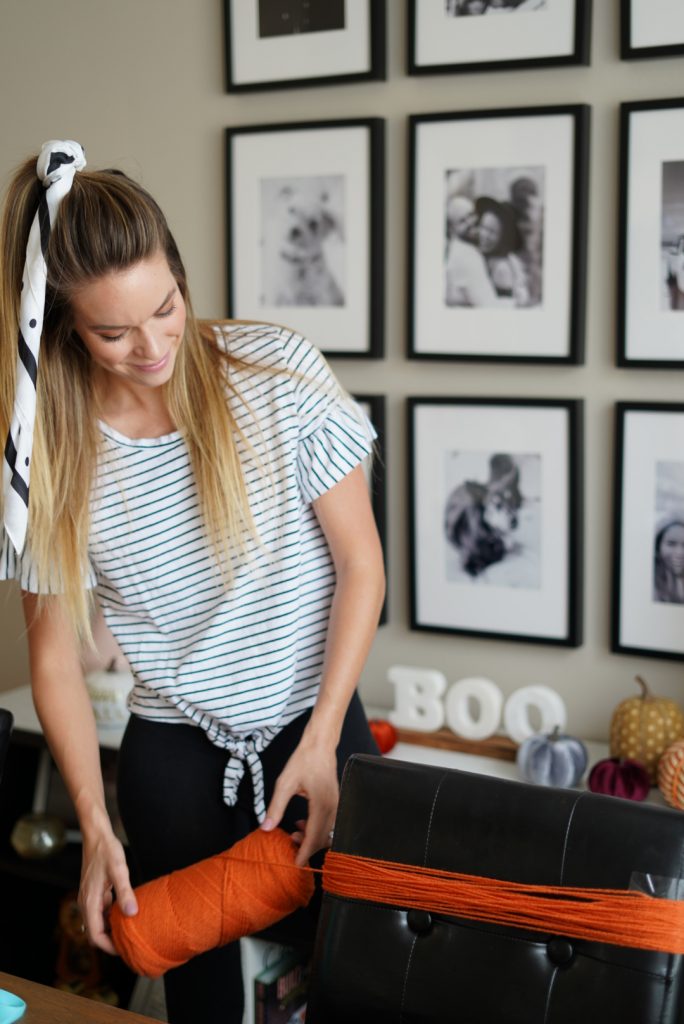
Take your first spool of yarn and tape the end of it to your chair or whatever you’re wrapping it around to get your length. Then, begin to wind the yarn around the chair until you get the desired thickness of the color for the first section of your hanging. Mine once removed from the chair was abut 2 ” thick. **Pro Tip: stick your pointer fingers into the ends of the yarn and wrap around, it goes way faster than handing it off.
Repeat this process with all your colors of yarn, repeating colors if necessary for your design. This will take the longest; heads up.
Once you’ve looped all your needed colors around your chair you should have them laid out in front of you on the table. Feel free to loop one end around the dowel to keep them organized. Make sure you like the thickness and order of colors and adjust if necessary.
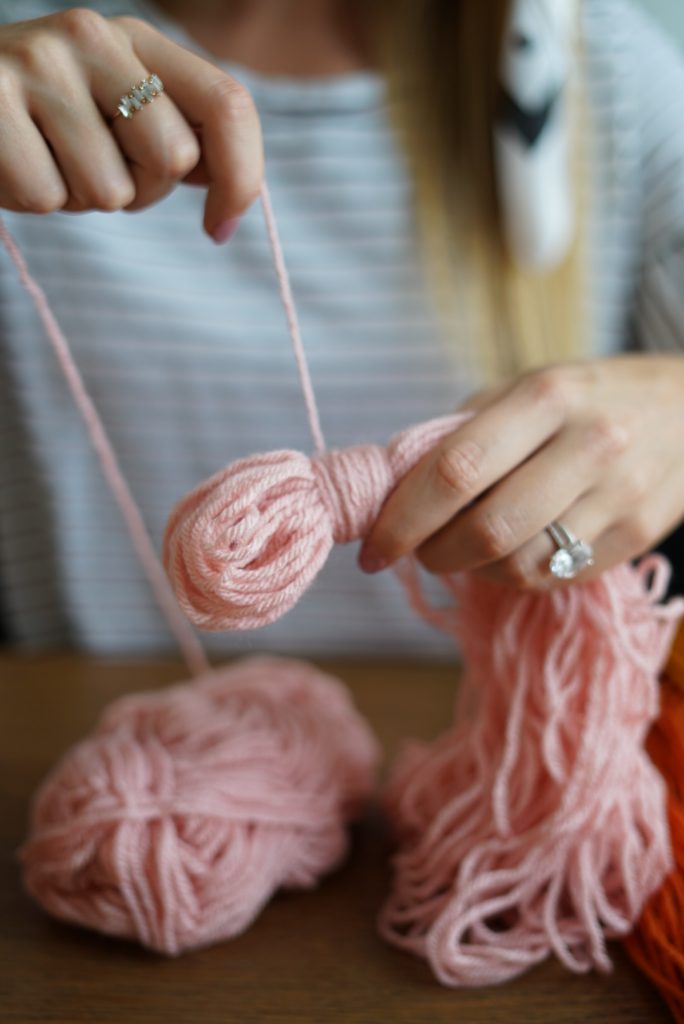
Then, take the bunches of loops off the dowel and one by one start securing the tops to make a tight loop as pictured below. You can do this by tying a knot around the top one inch of the loop and then continuing around and around until you get a nice, thick, secured, cuff around the top. Cut the end and tuck it into the cuff so you don’t have a loose yarn thread. Slip the 1″ cuffed loop onto the dowel and repeat the same cuffing process with your other loops.
Now that you have all your yarn loops cuffed and onto the dowel in their correct order (isn’t it pretty?!), it’s time to make the tiny pom pom tassels for the front. I did this by wrapping my sixth color around my hand until I reached my desired thickness. After flexing my hand a couple time to get the blood flow back, I threaded a piece of yarn about 12″ long through one end of the loops. Taking another piece of yarn I secured the top the tassel into a little ball, locking in the 12″ piece and created the same cuffed look as the big looped yarn pieces before. Snagging your scissors, you can now cut the loops into a tassel and shorten if need be. Repeat this process two more times until you have three identical pom pom tassels.
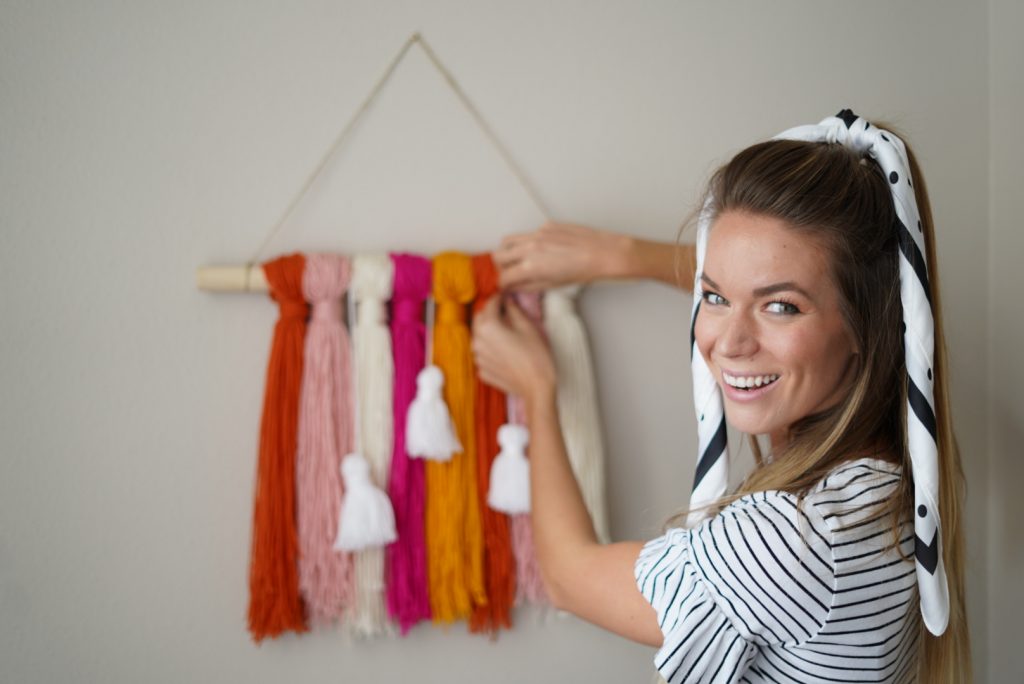
This is where you are going to need your twine and somewhere eye level to hang your tassel hanging temporarily. Using your twine, cut a piece about 20″ and tie each end to opposite ends of your dowel to create a hanger. Place your wall hanging on a nail, screw or push pin about eye level so you can see your wall hanging easily. It’s time to give your new creation a haircut!
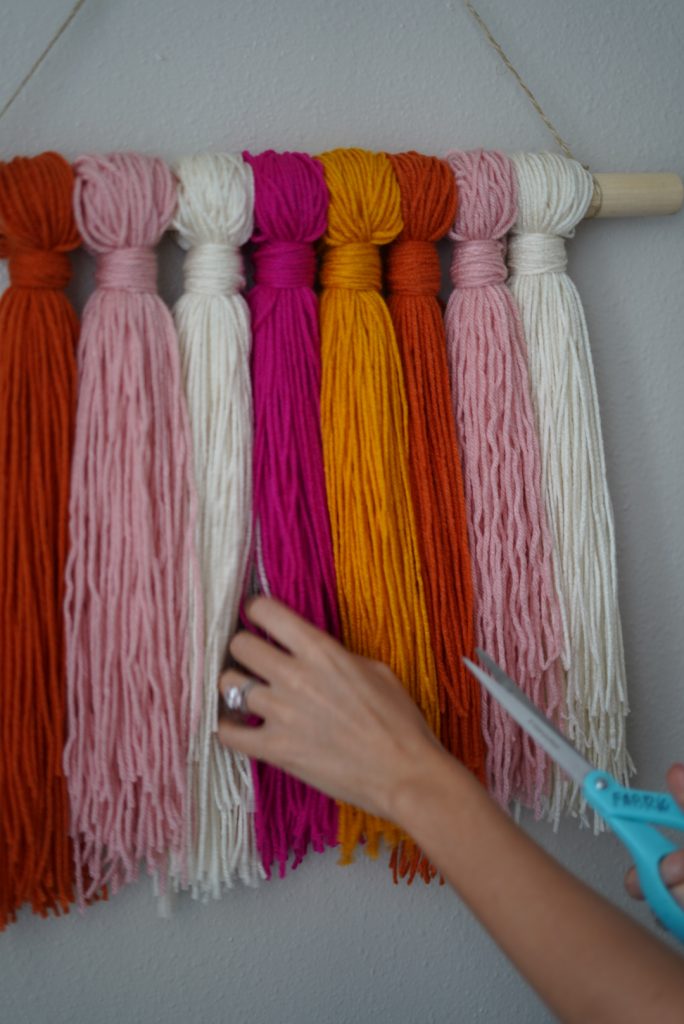

Take your scissors and cut the ends of the loops until you have all free hanging pieces of yarn. It’s totally up to you now if you want to trim more or cut the ends into a design like a chevron or a scoop etc. I ended up trimming the pieces upwards so it has this cool layered effect from front to back. It’s going to make a mess but that’s why vacuums exist. (**This is that moment I realized I gave it a mullet…)
Take your three little pom pom tassels you made and tie them evenly onto the dowel. I decided to have two hanging lower and uneven and one higher up; it’s totally up to you!
drumroll please….YOU’RE DONE! YOU MADE IT! I am of proud of you. SELF FIVE!